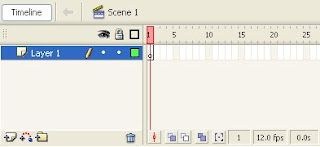
So today I will be teching you about how to use onion skin tool.Onion Skinning allows you to see a faint ghost image of the previous framee so you can see where you want to place the artwork for the next frame.This feature lets you to edit one keyframe while viewing as many frames before or after the current frame as you want.
Creating an Animation by using Onion Skin
Step 1:Start a New File and set Frame view to large.
Step 2:Turn on Onion Skin.Notice that the Start and End Onion Skin makers.

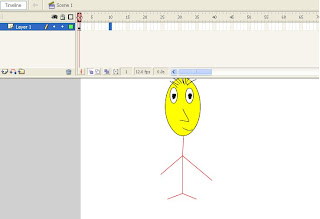
Step 3: Draw a Stick man which is shown below.
Step 4: In frame 2, Select Insert -->Keyframe,this will copy what was in the previous frame and paste in into the new keyframe.

Step 5: While editing frame 2,drag the end of one leg to move it to a different angle.This time,the position of the leg from frame 1 is visible but we can edit the contents of frame2.
Step 6: In frame 3,insert another keyframe. When you move the leg ,you can judge how much leg to the moved,based on the position of the leg in frame 2.
Step 7:Continue to insert keyframes one at a time. Make change in each new frame , then select Insert --> Keyframe again.
Step 8: When you have several frames, you can experiment with changing the both Start and End Onion Skin markers. By default, the markers are set to Onion 2 , meaning you can see two frames ahead and two behind.
So I hope you got to know how use Onion Skinning in Flash.If you have any problems in onion skinning you can leave a comment or e-mail me at ranibhardwaj31@gmail.com.
Thanks for reading.


No comments:
Post a Comment